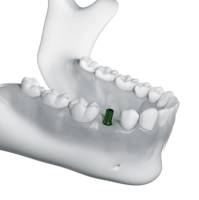
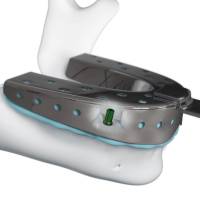
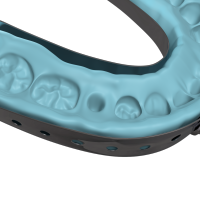
Soft tissue management and
Impression taking
Interface
Handy interface of special holder for comfortable intraoral work
Surface
Polished surface is anodised to the natural gingiva colour
Internal thread
Alowing to remove the healing abutment using SR tool without excessive pressure on the implant
Two piece
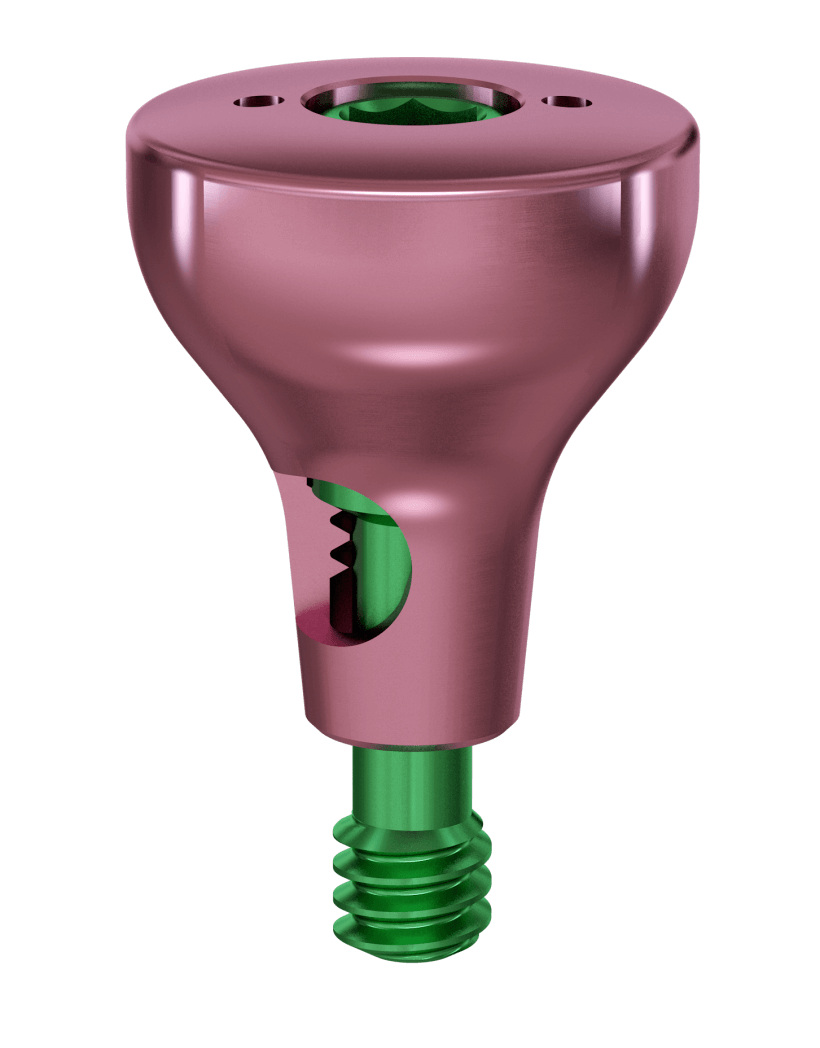
Healing abutment consists of a body and fixing screws what is allow to exclude transmitting unwanted torque the implant when twisting of the cone the connection until the implant is in the early stage osseointegration
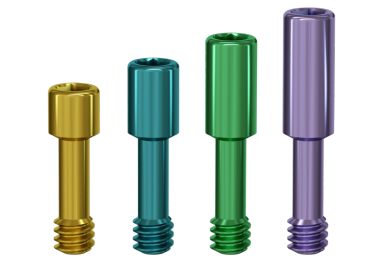 GF1
GF2GFN2
GF3
GF4GFN4
Fixing screw
Has a height-dependent color code and covers a former like an implant cover screw preventing the ingress of food
GF1 1 mm
GF2 2 mm
GF3 3 mm
GF4 4 mm
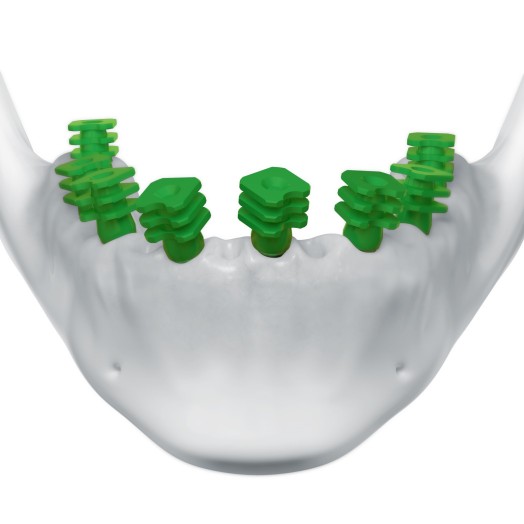
Anatomical healing abutments
Should be used in all cases except narrow spaces where narrow abutments (A1N) and abutments with attachments are used. The height is selected depending on gum biotype. Former shape corresponds to the gingival part of anatomical and transgingival abutments of the corresponding size.
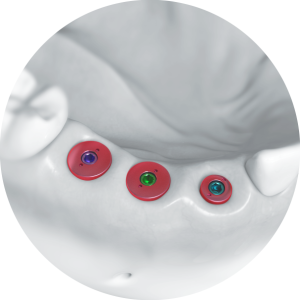
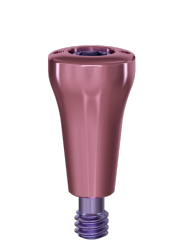
GFN2 2 mm
GFN4 4 mm
Narrow healing abutments
Are used in cases of insufficient space to place anatomical abutments and to form the gums using straight abutments with attachment.
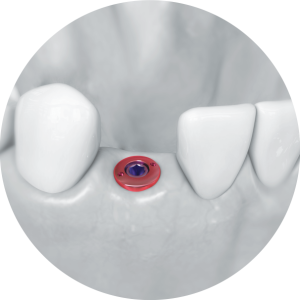
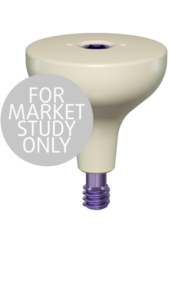
GFI
Individual healing abutment
Is used to create the required gingival contour in aesthetically important areas, generally along with gum contour surgical correction. Can be used as a temporary abutment. Made from biocompatible plastic.
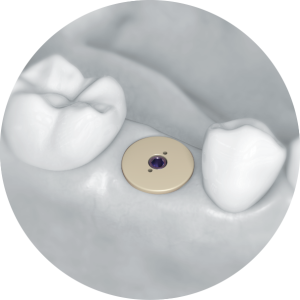
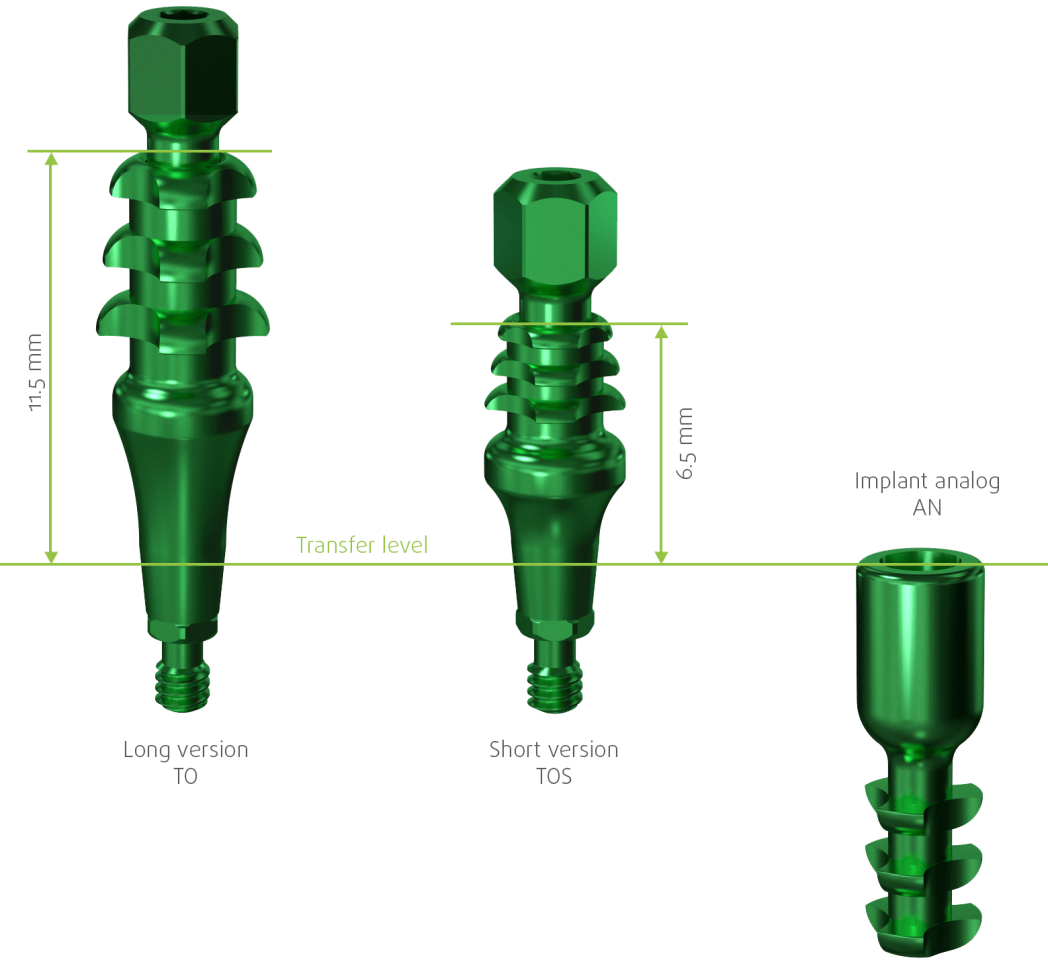
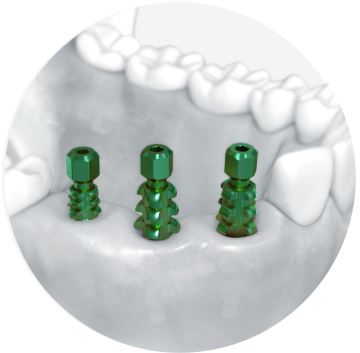
Should be used in all cases. Supplied with ST transfer screw. Available in standard (TO, 11.5 mm) and short (TOS, 6.5 mm) versions. Surface is polished and anodized to green color to add contrast during impression taking. Ti6Al4V material.
Conical connection
Together with hex allows you to transfer the exact position of the implant into the laboratory model. In some cases, due to the taper lock it’s possible to use a transfer for close tray.
Interface
With impression material has special configuration, allowing you to evenly distribute the material around the interface.
Internal thread
Simple transfer removal with a removable key (SR), eliminating undesired force on the implant in case of extra fixation
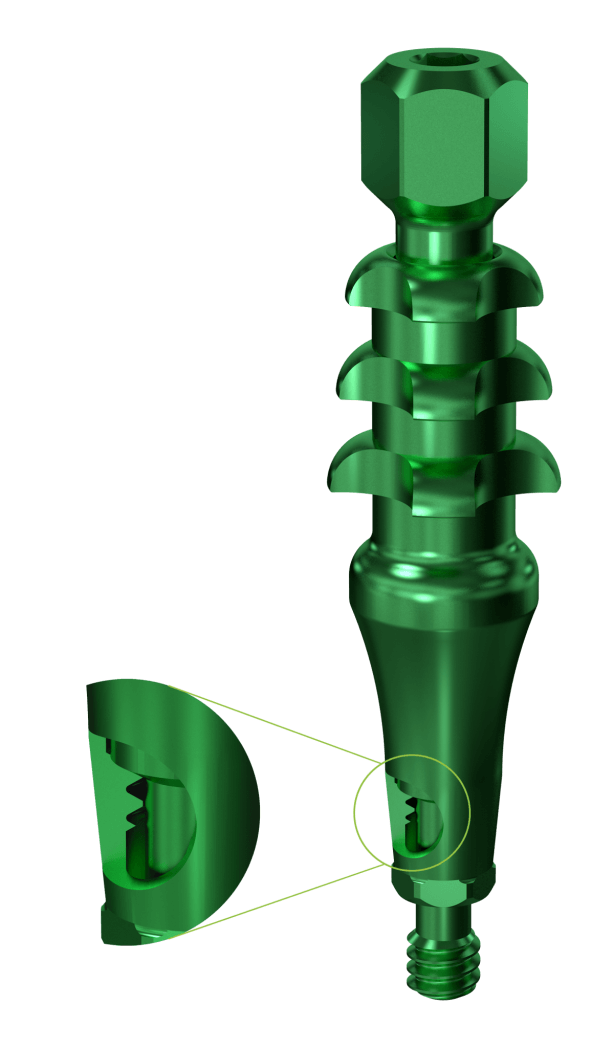
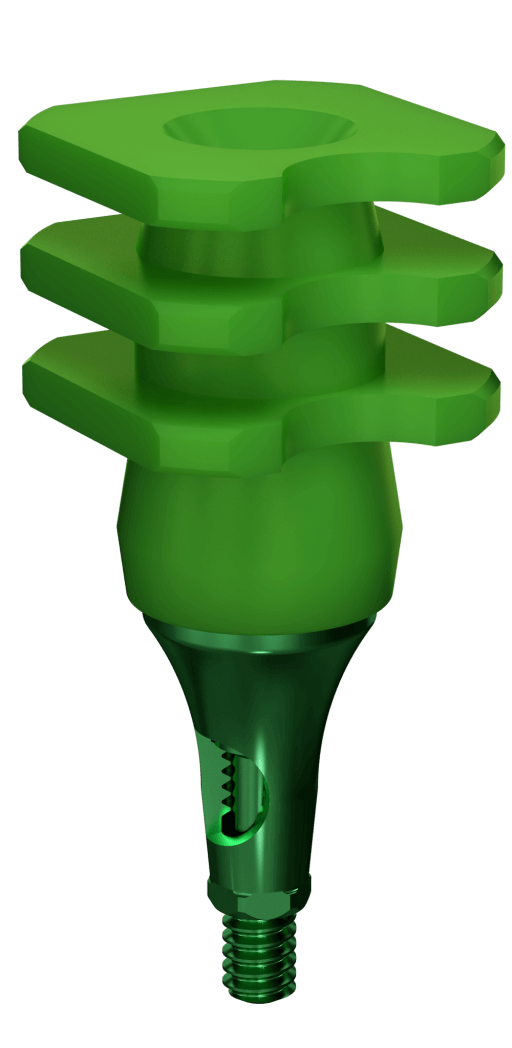
Two versions for different techniques of impression taking: Via a plastic transfer cap TC, placed on transfer TR Via direct impression taking from a transfer TOD. Surface is polished and anodised to green color to add contrast during impression taking. Material – Ti6Al4V.
Interface
Precise fixation with a click by the inner ring between transfer and transfer cap
Internal thread
Simple transfer removal with a removable key (SR), eliminating undesired force on the implant in case of extra fixation
Internal thread & Conical connection
Together with hex allows you to transfer the exact position of the implant into the laboratory model. In some cases, due to the taper lock it’s possible to use a transfer for close tray.
TR
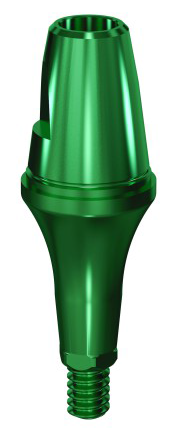
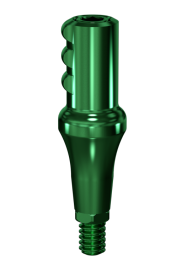
Straight transfer for close tray
Is used when there is insufficient clinical height in the distal parts of the upper and lower jaws and when implant axes diverge by up to 20°. Supplied with SL8 laboratory fixing screw. The innovatory plastic cap fixation system provides an accurate cast comparable with open tray transfer. The semicircular cutout matches the anti-rotation slot and allows several transfer caps to be placed in a narrow space.
TR
Transfer for direct impression taking
